2024-09-10
Proceso de bricolaje para usar paneles de madera flexibles con diseño de listones ranurados en V para la decoración de techos interiores
Hoja de especificaciones de paneles de madera flexibles
Panel de pared con lamas de madera flexibles y parte superior de chapa de madera
Tipos de madera: Roble, Arce, Cerezo y tablero de MDF
Tamaño: 4 pies x 8 pies (1200 mm x 2400 mm)
Espesor: 3 mm
Listón plano con ranura en V: 13 mm, 43 mm, 67 mm y otros anchos para pedidos especiales
Estructura: Capa superior Chapa de madera Capa intermedia Tablero MDF Capa inferior Respaldo de tela no tejida reforzada con resina ECO o papel kraft
Usos: Revestimiento de postes y columnas interiores, panelado de madera para paredes, techo, cubiertas de superficies de muebles, suelos, zócalos, paneles flexibles de listones de madera, paneles flexibles de madera, decoración de techos, bricolaje, listones de madera, techo, diseño de listones ranurados, panelado de madera para paredes, paneles de pared
Origen: Hecho en Taiwán
Dale carácter a tu techo instalando paneles flexibles de listones de madera con ranuras en V. El patrón ranurado de los paneles flexibles de madera con ranuras en V añade textura e interés visual, transformando un área a menudo pasada por alto en un elemento impresionante. Ya sea que optes por un diseño uniforme o explores diferentes configuraciones de paneles, el resultado será un techo único y cautivador.
Como se mencionó anteriormente, el uso de paneles de madera flexibles con diseño de listones ranurados en V o acanalados para techos ofrece varias ventajas.
A continuación, se muestra un ejemplo simple sobre de bricolaje para la decoración del techo con paneles de madera flexibles.
Materiales necesarios:
- Paneles de madera flexibles con diseño de listones ranurados en V (asegúrese de que sean adecuados para techos y estén disponibles en el color o acabado deseado).
- Cinta métrica
- Lápiz
- Sierra (sierra circular o sierra de mano)
- Adhesivo adecuado para madera o tornillos (si se prefiere para la instalación)
- Nivel
- Escalera o andamios (para llegar al techo)
- Gafas de seguridad y guantes (para seguridad durante el corte y la instalación)
Paso 1: Preparación
- Medir el techo: Utilice una cinta métrica para determinar las dimensiones del área del techo que desea cubrir con los paneles de madera flexibles con diseño de listones ranurados en V. Esto le ayudará a estimar la cantidad de paneles de listones de madera flexibles necesarios.
Paso 2: Cortar los paneles de madera flexibles con diseño de listones ranurados en V
- Marcar las medidas: Utilice un lápiz para marcar las medidas en los paneles de madera flexibles con diseño de listones ranurados en V según las dimensiones que midió anteriormente. Verifique nuevamente las marcas para asegurarse de que sean precisas.
- Cortar los paneles de madera flexibles con diseño de listones ranurados en V: Usando una sierra (una sierra circular es la mejor para cortes rectos), corte cuidadosamente los paneles de madera flexibles con diseño de listones ranurados en V a lo largo de las líneas marcadas para ajustarse al tamaño del área del techo.
Paso 3: Instalación
- Decidir el método de instalación: Puede usar un adhesivo adecuado para madera o tornillos para instalar los paneles de listones de madera flexibles. El adhesivo es un método más limpio y rápido, mientras que los tornillos ofrecen mayor seguridad. Elija el método que mejor se adapte a sus preferencias y habilidades.
- Aplicar adhesivo o instalar con tornillos: Si utiliza adhesivo, aplíquelo de manera uniforme en la parte posterior de cada panel y luego presione firmemente los paneles de madera flexibles con diseño de listones ranurados en V sobre el techo. Si usa tornillos, perfore agujeros previamente en los paneles de madera flexibles con diseño de listones ranurados en V y luego fíjelos al techo con tornillos.
- Usar un nivel: Para garantizar una instalación recta y nivelada, use un nivel para verificar la alineación de cada panel de madera flexible con diseño de listones ranurados en V mientras los instala.
- Superponer paneles de madera flexibles con diseño de listones ranurados en V: Si los paneles de madera flexibles con diseño de listones ranurados en V no cubren toda el área del techo, puede superponerlos ligeramente para crear una apariencia sin costuras. Asegúrese de que el diseño de las ranuras de los listones de madera esté alineado correctamente para lograr una apariencia coherente.
Paso 4: Personalización
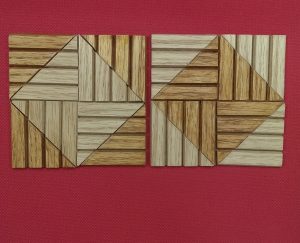
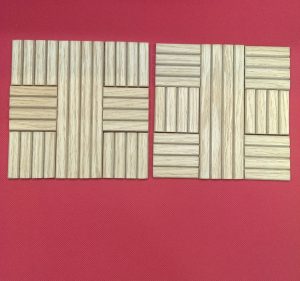
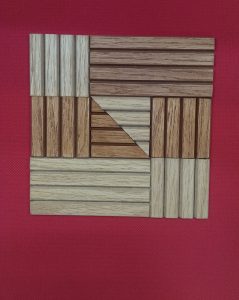
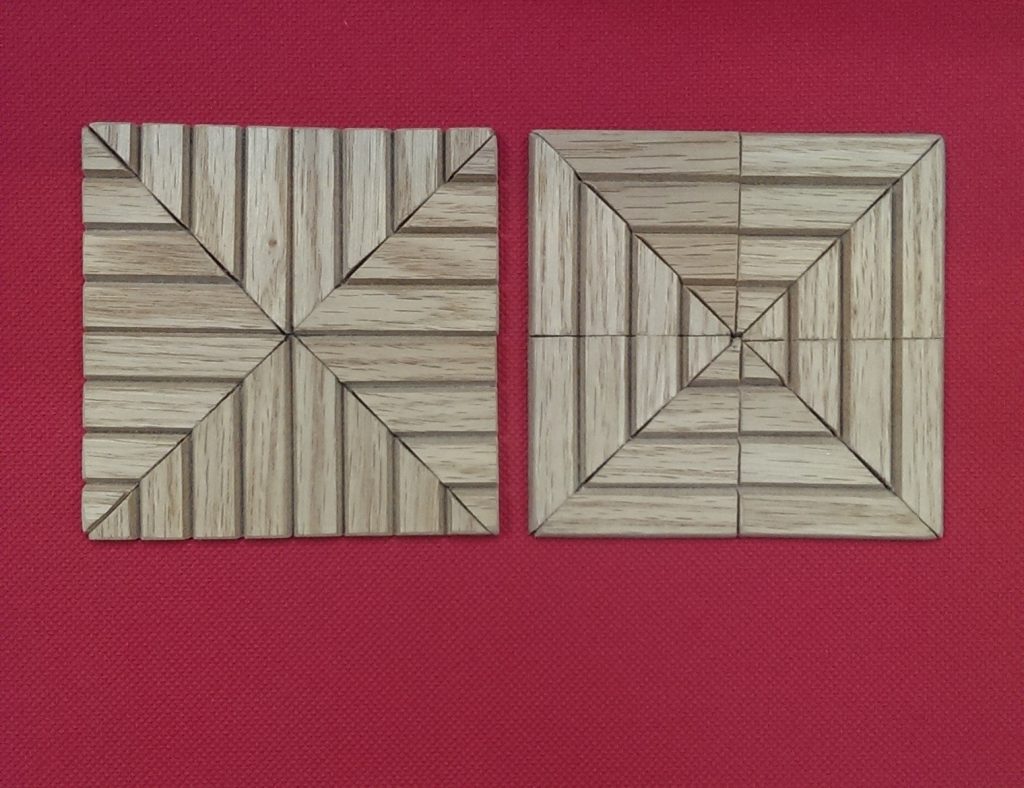
- Crear patrones: Sé creativo con el diseño y la disposición de las lamas de madera. Considera alternar la dirección de las lamas de madera o crear patrones específicos para añadir interés visual al techo.
- Recortar y ajustar alrededor de los accesorios: Use una sierra o cuchillo multiusos para recortar los paneles de listones de madera flexibles para que se ajusten alrededor de los accesorios de luz, rejillas de ventilación o cualquier otro elemento del techo. Asegúrese de lograr un ajuste limpio y preciso.
Paso 5: Toques Finales
- Lijado (opcional): Si es necesario, lije suavemente los bordes y superficies de los paneles de madera flexible con diseño de listones ranurados en V para lograr un acabado suave.
- Tenir o pintar (opcional): Si prefieres un color o acabado específico, puedes tenir o pintar los paneles de madera flexibles con diseño de ranuras en V antes de la instalación. Asegúrate de usar productos adecuados para el acabado de madera.
- Limpieza: Una vez instalados los paneles de madera flexible con listones de madera ranurados en V, limpie cualquier residuo o polvo del techo y las áreas circundantes.
Paso 6: ¡Disfruta tu techo hecho por ti mismo! Da un paso atrás y admira tu techo recién decorado. Los paneles de madera flexible con listones de madera ranurados en V han añadido un toque de elegancia y originalidad a tu espacio interior, todo logrado gracias a tu creatividad y esfuerzo en el bricolaje.
Recuerda priorizar la seguridad mientras trabajas en el techo y sigue las pautas del fabricante para instalar los paneles de madera flexible con listones de madera ranurados en V. Disfruta la satisfacción de tener un techo impresionante y personalizado que refleje tu estilo y gusto. ¡Feliz decoración de techo con bricolaje!


Palabras clave Paneles de pared de madera, paneles de pared Paneles de listones de madera flexibles, paneles de madera flexibles, decoración de techos, bricolaje, listones de madera, techo, diseño de listones ranurados
